Sep 21, 2026
Author:Amanda Lyu
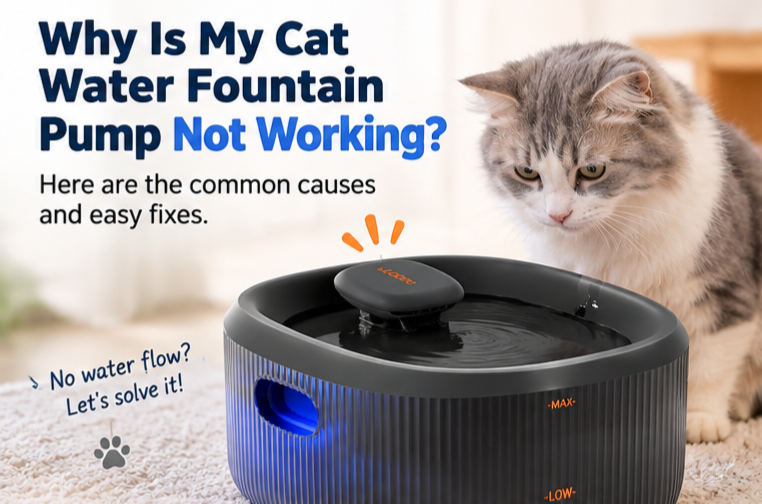
If a cat water fountain pump is not working, the most common causes are interrupted power, an empty or underfilled reservoir, the wrong operating mode, a blocked intake or impeller, or incorrect reassembly after cleaning. Start with water access and power checks before taking the pump apart.
|
Quick answer: Put down a clean backup bowl, disconnect the fountain, confirm the correct adapter or battery charge, fill to the marked range, and check that the pump outlet, tubing, filter, and top tray are installed correctly. Clean only the user-serviceable intake and impeller parts described in the manual. If the pump remains silent or only twitches, contact the manufacturer for a compatible replacement—do not open a sealed motor or repair wiring. |
Confirm what “not working” means
This article addresses a pump that does not start or does not move water at all. A different symptom needs a different path:
• If the pump runs but the stream is weak, use the guide to low cat fountain water flow.
• If the fountain runs and then shuts off, see why a cat fountain stops pumping.
• If flow is normal but the fountain is loud, see why a cat water fountain makes noise.
During the first check, note whether an indicator light is on, whether you can feel a slight vibration without touching water, and whether the failure began after cleaning, a refill, a move, a power outage, or a battery charge. Do not keep cycling a pump that smells hot or makes a harsh grinding sound.
Before troubleshooting: protect water access and electrical safety
Set out a clean bowl in a familiar location. A nonworking fountain should never be your cat's only available water source while you diagnose it.
Then disconnect the fountain using the manufacturer's procedure. Dry the counter, your hands, the connector, and the outside of the unit before handling power components. Do not test an adapter that is wet, cracked, discolored, loose, or connected to a frayed cord. Do not open a sealed adapter or motor housing.
Move the fountain to a dry, well-lit workspace. Keep each removable part in order or take a photo before disassembly. This makes it easier to spot a reversed filter, pinched cable, or misaligned outlet during reassembly.
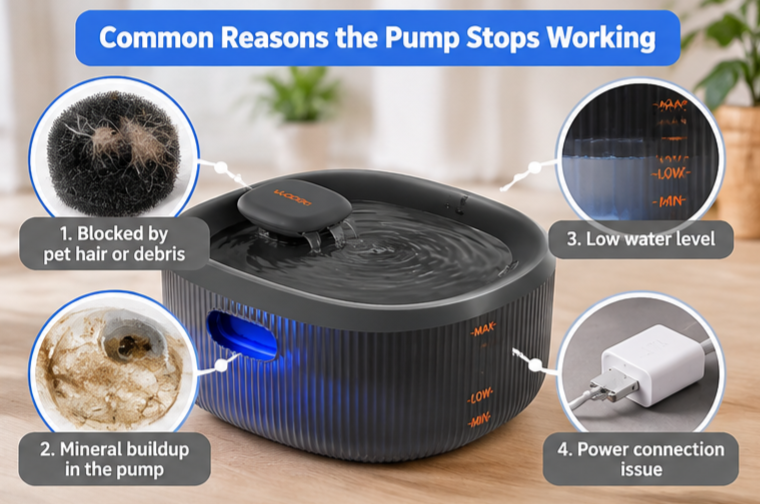
Step 1: Check the simplest power causes
For a corded fountain
Verify that every low-voltage connector is fully seated and that the adapter is the correct one for the model. If the plug and outlet are dry and undamaged, test the outlet with a known working device or try another suitable outlet. Avoid extension cords and do not substitute an adapter merely because the plug fits; voltage, current, polarity, and connector design must match the manufacturer's requirements.
If a ground-fault outlet has tripped, stop and investigate why. Repeated tripping, moisture at a connection, or visible electrical damage requires product support or a qualified electrician—not repeated resets.
For a rechargeable or wireless fountain
Charge the unit with the specified cable and power source for the time stated in the manual. Check the indicator meaning; a light may show charging, low battery, timed mode, or an error rather than continuous pumping. Ensure the charging contacts are clean and completely dry before connecting.
Some cordless fountains do not run continuously. For example, WOPET describes the W03's long battery-life claim in timer mode. A pause that matches the selected mode is not the same as pump failure. Confirm the mode before disassembling the unit.
Step 2: Check water level and dry-run protection
Many fountain pumps must remain submerged or supplied with enough water to prime correctly. Some models include anti-dry protection that stops the pump when water is too low. Fill the reservoir to the marked operating range, not beyond the maximum line.
Look for a hidden lower chamber that may not fill immediately when water is poured into the top. If the manual specifies a priming or restart sequence, follow it. Do not pour water directly into electrical openings or run the pump dry to force a restart.
If water disappears unusually quickly, inspect the fountain for a displaced top, a blocked return channel, spills, and a wet mat. A sudden drop in the reservoir is a separate problem that must be corrected before restarting the pump.
Step 3: Check assembly and alignment
A clean pump can still fail to circulate water if the outlet does not meet the fountain inlet. With power disconnected, confirm:
• the pump is facing the correct direction;
• the outlet nozzle or tube is fully attached and not kinked;
• the pump sits in its holder or suction cups correctly;
• the filter is the correct way up and not trapped under another part;
• the top tray or drinking plate sits flat;
• no packing insert or cleaning plug remains in the flow path;
• the cable follows the intended channel and does not lift the lid.
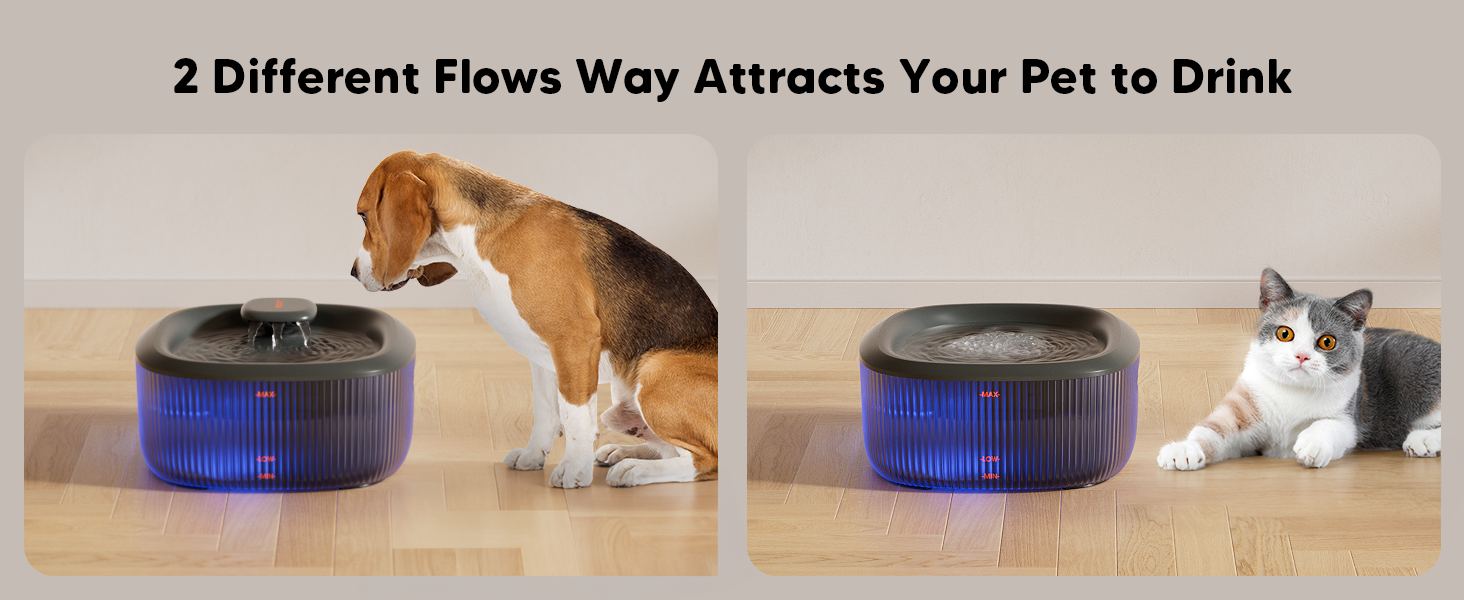
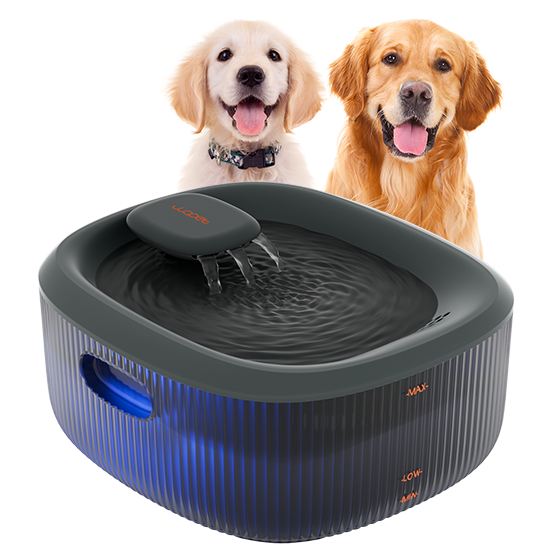
WOPET's W600 instructions specifically call for aligning the pump water output with the fountain's water-entry port and ensuring the components are installed correctly. Use the diagram for your own model, because similar-looking fountains can assemble differently.
Step 4: Clean the intake and accessible impeller
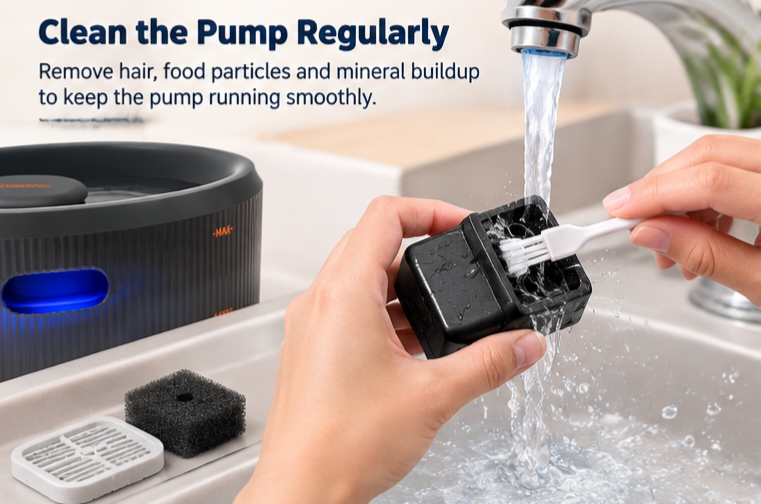
Hair and debris can stop a small pump even when the basin looks clean. Remove the pump only after disconnecting power. Open only covers identified as removable in the manual. Clear the intake slots, prefilter sponge, outlet, and accessible impeller chamber with the supplied tool or a soft brush.
The impeller should be inspected for hair, grit, or mineral buildup. Do not pry aggressively, enlarge an opening, scrape with metal, or add lubricant. Rinse the washable parts completely. Keep the adapter, charging base, and other dry-only components out of water.
If the filter is overdue, visibly clogged, damaged, or restricting flow after any permitted rinse, install the correct replacement. A filter and a pump are separate parts: changing a filter will not fix a motor that receives no power, but a severely restricted filter can prevent normal circulation.
For expanded cleaning steps, see how to clean a cat fountain pump and cross-check every step with the exact manual.
Step 5: Reassemble and test in the right order
After cleaning:
1. Reinstall the impeller and user-removable cover as shown in the manual.
2. Seat the pump in its holder.
3. Attach the correct outlet, tube, or channel.
4. Install the filter and tray in the correct orientation.
5. Fill to the operating range.
6. Confirm the exterior connection area and your hands are dry.
7. Reconnect power and select the intended mode.
8. Watch and listen for up to the normal startup time stated in the manual.
If the pump hums but no water appears, disconnect it again. The outlet may be misaligned, air may be trapped, or the flow path may still be blocked. If it remains completely silent, the power source, cable, internal motor, or battery may have failed.
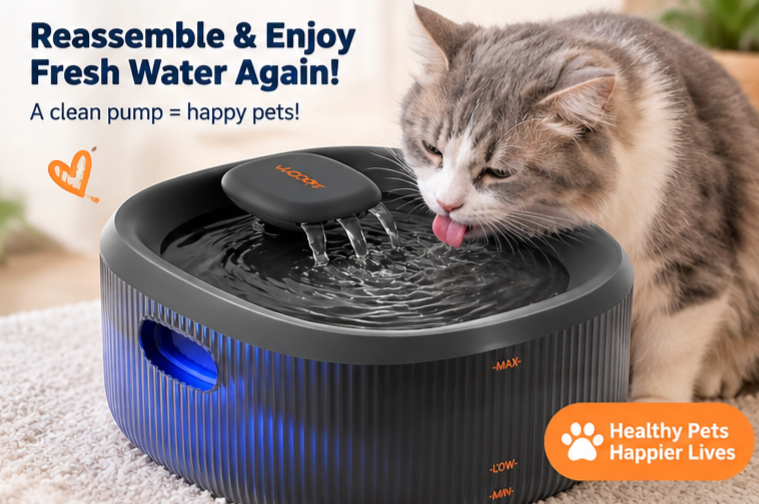
Why a pump may stop working after cleaning
Post-cleaning failures are usually assembly or moisture-management problems rather than proof that cleaning damaged the pump. Common causes include:
• the impeller or cover was not replaced;
• the pump outlet missed the inlet tube;
• a filter or tray was installed backward;
• a cable was not fully reconnected;
• the pump chamber was not filled or primed;
• moisture reached a connector that must remain dry;
• a small silicone holder or cap was left at the sink.
Compare the fountain with the manual's parts diagram. If a dry-only connector became wet, leave the unit disconnected and follow manufacturer guidance; do not apply heat with a hair dryer or reconnect merely because the surface looks dry.
When should you replace the pump?
Replacement is reasonable when the correct power source works, the water level and assembly are correct, the user-serviceable flow path is clear, and the pump still does not start—or when it shows persistent grinding, intermittent seizure, damaged housing, or unsafe heat.
Buy by exact model or manufacturer-confirmed compatibility. Matching physical size is not enough; electrical rating, connector, outlet shape, flow, and fit all matter. WOPET states that replacement pumps and filters for the W600 are available through WOPET or Amazon, but availability and compatibility should be rechecked for the exact model before purchase.
Contact support before replacing a pump that is still under warranty. Provide the model, serial or order information, date the problem began, a short video, and the checks completed. This reduces unnecessary part swapping.
When the whole fountain should be retired
Stop using the unit if it has a damaged cord or adapter, a cracked wet-area housing, melted or discolored parts, corrosion at an electrical contact, repeated breaker trips, smoke, sparks, or a burning smell. Do not keep an old basin in service with a makeshift pump if the replacement is not approved for it.
If the reservoir or ceramic bowl is chipped, cracked, or no longer seals correctly, replacing only the pump does not solve the safety or hygiene problem. Evaluate the fountain as a system.
How to reduce future pump failures
• Check water level and visible debris every day.
• Keep a backup water bowl available at all times.
• Follow the model's cleaning and filter schedule.
• Clean the pump intake before flow noticeably declines.
• Keep electrical contacts and charging parts dry.
• Use only the specified adapter, cable, filter, and pump.
• Photograph the assembly before the first deep clean.
• Avoid running the pump empty, even briefly.
The CDC's pet-supply cleaning guidance recommends following manufacturer directions. A regular, model-specific routine is safer than applying a universal cleaning recipe to every fountain.
Frequently asked questions
Can I test the pump outside the fountain?
Only if the manufacturer explicitly provides a safe test procedure. Some pumps must remain submerged and connected in a particular way. Never energize a submersible pump dry or improvise a container-and-wiring test.
Why does the light work but the pump does not?
An indicator can confirm only part of the circuit or show a selected mode. The pump may still be blocked, disconnected, misaligned, or failed. Use the manual's indicator guide and the troubleshooting sequence above.
Can I replace the pump with any USB pump?
No. A familiar connector does not guarantee compatible voltage, polarity, flow, waterproofing, or fit. Use an exact replacement or one approved by the manufacturer.
Is vinegar safe for cleaning the pump?
Use vinegar only when the manufacturer permits it and specifies dilution and rinsing. Materials and seals differ among models. Never mix cleaning products, and rinse every drinking-water component thoroughly.
What should my cat drink from while I troubleshoot?
A clean, stable bowl filled with fresh water. Leave it in an accessible, familiar area and do not remove it until the fountain has operated reliably again.
Final answer
When a cat water fountain pump is not working, begin with backup water, safe power checks, correct water level, mode, and assembly. Then clean the intake and only the pump parts the manual identifies as serviceable. If the correct power source, clean flow path, and correct reassembly do not restore operation, replace the pump with a confirmed compatible part or contact support. Never repair wet-area wiring or a sealed motor at home.
Sources and editorial methodology
This guide prioritizes fault isolation from least invasive to most invasive and separates manufacturer instructions from general maintenance advice. It does not represent hands-on testing of every fountain model.
• CDC: Cleaning and Disinfecting Pet Supplies
This article provides general maintenance information. If your cat's drinking or urination changes noticeably, contact a veterinarian even when the fountain also has a mechanical problem.Label:
Popular Post

Top 10 Most Expensive Cat Breeds in The World
May 07, 2025

The Ultimate Guide to Tabby Cats: Patterns, Personalities, and More
Mar 27, 2025

Can Cats Have Ice Cream? Dangers, Safe Flavors & Healthy Cat Treats
Sep 02, 2025

My Cat Only Eats A Little at A Time - What to Do?
Feb 27, 2023

Top 8 Reasons Why Does My Cat Sleep Between My Legs?
Mar 03, 2025
Basin Pet Water Fountain-W600
Model: W600
$43.99
$69.99
[Basic] Ceramic Pet Water Fountain with Power Cable
Model: W03L
$59.99
$99.00
WOPET 8L Pet Water Fountain For Multiple Cats or Large Dogs A08
Model: A08
$49.99
$59.99
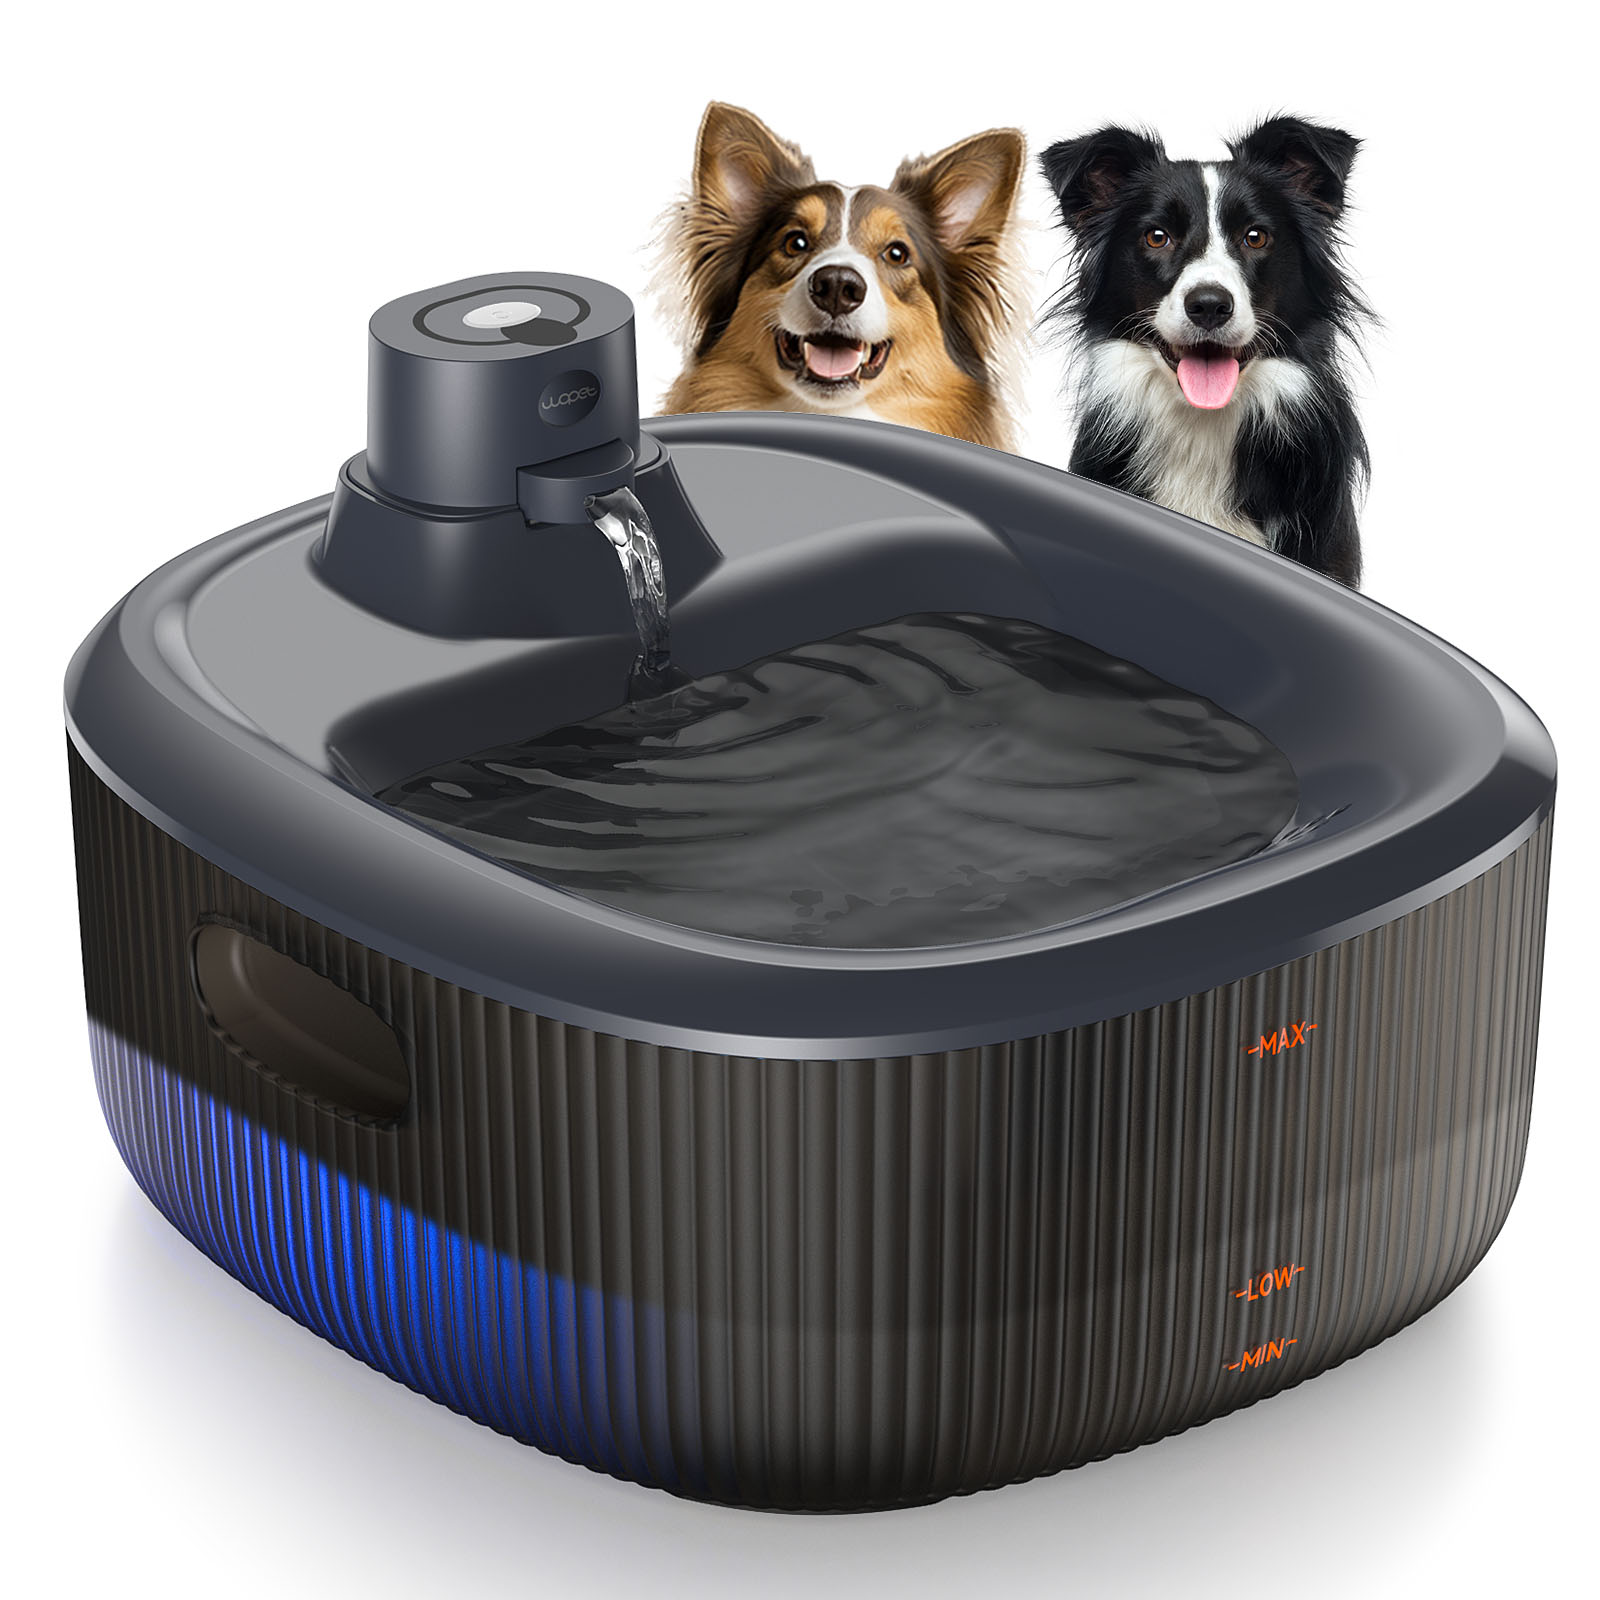
[Upgrade] Basin Wireless Pet Water Fountain
Model: W600 Pro
$69.99
$89.99
Heritage View Pet Feeder Dual Bowls For Two Cats
Model: HV10DP
$119.99
$149.99
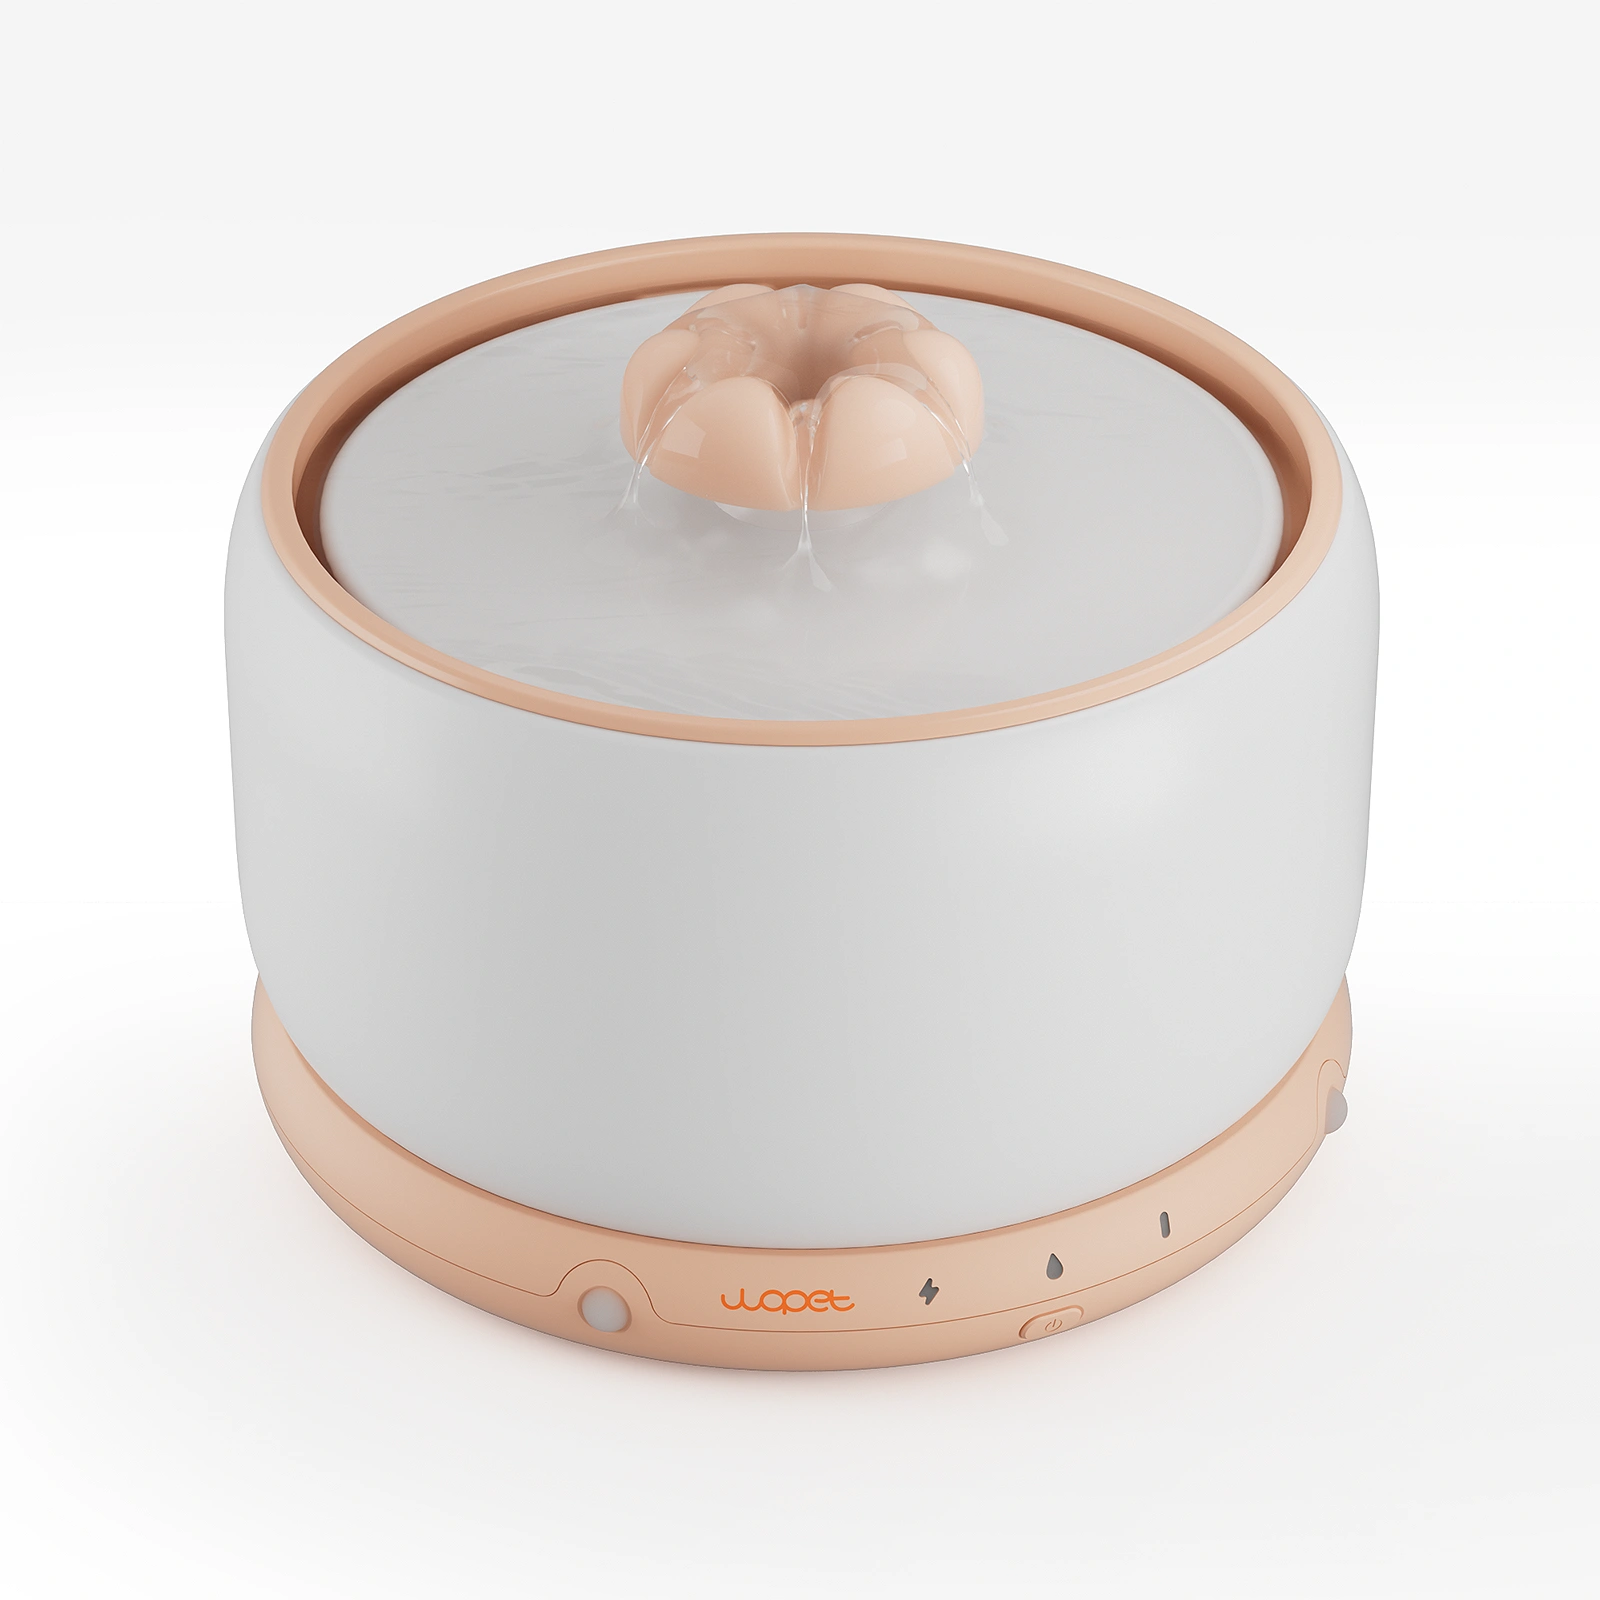
[New] Ceramic Wireless Pet Water Fountain W03
Model: W03
$89.99
$129.00

DOWNLOAD APP

WOpet life




Copyright © 2026 WOPET. All Rights Reserved.